ThiefWatcher, a homemade indoor surveillance system III
With this article I finish the series dedicated to the ThiefWatcher solution, a homemade video surveillance system that is triggered when some intruder enter your home, alerts you by calling to the mobile phone and allows you to obtain at the moment pictures that you can use to help the police quickly identify the thieves and increase the chances of quickly recovering your stolen belongings. In this last article I will explain the App that is used as a remote client of the system.
To start the series from the beginning, in this link you have the first article of the ThiewWatcher surveillance system series.
In this link you can download the source code of the ThiefWatcher solution, written in CSharp using Visual Studio 2015.
I have used Xamarin to create the clients, which allows to easily generating the Android, iOS, Windows Phone, Windows App and Windows Universal Platform versions writing most of the code in a single project.
The Xamarin project type I have used is PCL (Portable Class Library), and it is found in TWClientApp. In the client App, only the storage protocol is used, to interchange commands and images with the central system, and, in this case, I have only implemented a single version of this protocol, using Dropbox to manage files. The implementation is in the DropBoxStorage class, which you will have to replace with your own implementation if you want to use a different protocol.
The storage protocol on clients is somewhat smaller than that on the server. It is defined as follows:
public interface IStorageManager
{
    Task DownloadFile(string filename, Stream s);
    Task DeleteFile(string filename);
    Task<bool> ExistsFile(string filename);
    Task<List<string>> ListFiles(string model);
    Task SendCommand(ControlCommand cmd);
    Task SendRequest(List<CameraInfo> req);
    Task<List<CameraInfo>> GetResponse(string id);
}
As you can see, it is an asynchronous version of the one used in the central application. In this case, the implementation is not as simple as that in the server version, which simply uses the Dropbox folder to read and write files. In the App we must carry on the file transfer using the Dropbox API. The first thing to do is to create an application on the Dropbox developer’s website and generate an access key. With this text string, you have to initialize the _accessKey constant of the DropBoxStorage class so that the connections can be made.
To call the different asynchronous methods, the program uses async / await, so the programming is very simple and it does not is much different than that of a synchronous version.
To access the Dropbox API, I used the Dropbox.Api library of the NuGet package repository.
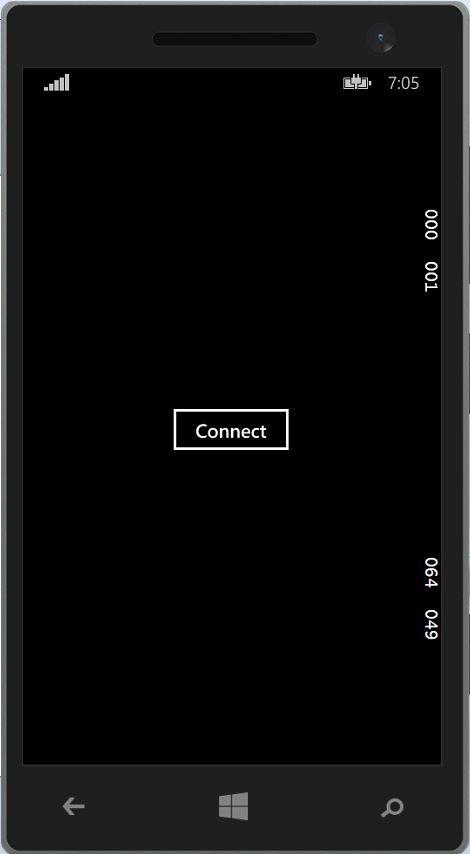
The entire implementation of the content pages of the App is in the CameraPage class, derived from ContentPage. When the application starts, a button to connect to the server appears:

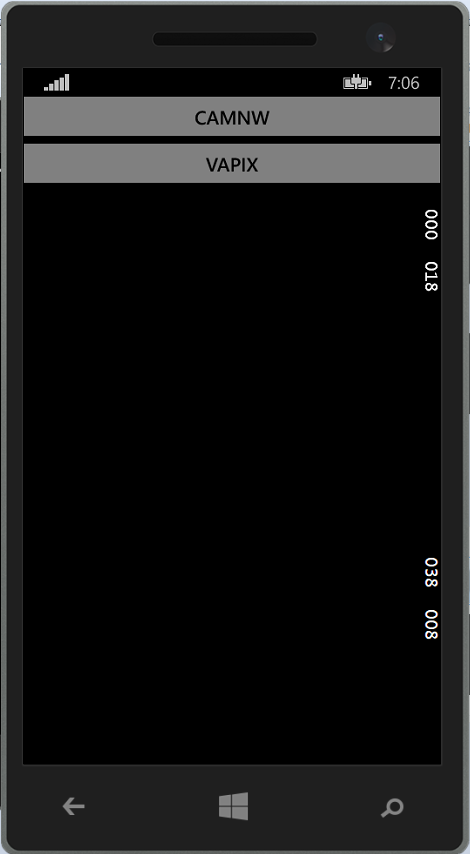
When you press the button, the DropBoxStorage object is created and the connection is made by sending a command, obtaining the list of installed cameras:
private async void Btn_Connect(object sender, EventArgs e)
{
    _storage = new DropBoxStorage();
    ControlCommand cmd = new ControlCommand();
    cmd.ClientID = _clientId;
    cmd.Command = ControlCommand.cmdGetCameraList;
    await _storage.SendCommand(cmd);
    _camList = await GetResponse();
    _sLayout = new StackLayout();
    foreach (CameraInfo ci in _camList)
    {
        Button btn = new Button()
        {
            Text = ci.ID,
            BackgroundColor = Color.Gray,
            TextColor = Color.Black,
            BorderColor = Color.Black,
            BorderWidth = 1,
            HorizontalOptions = LayoutOptions.FillAndExpand
        };
        btn.Clicked += Btn_Camera;
        _sLayout.Children.Add(btn);
    }
    Content = new ScrollView()
    {
        Content = _sLayout
    };
}
Next, the final layout of the page is created, using a StackLayout object where, firstly, a button is created for each one of the cameras, with the corresponding camera identifier, which allows you to select one of them.

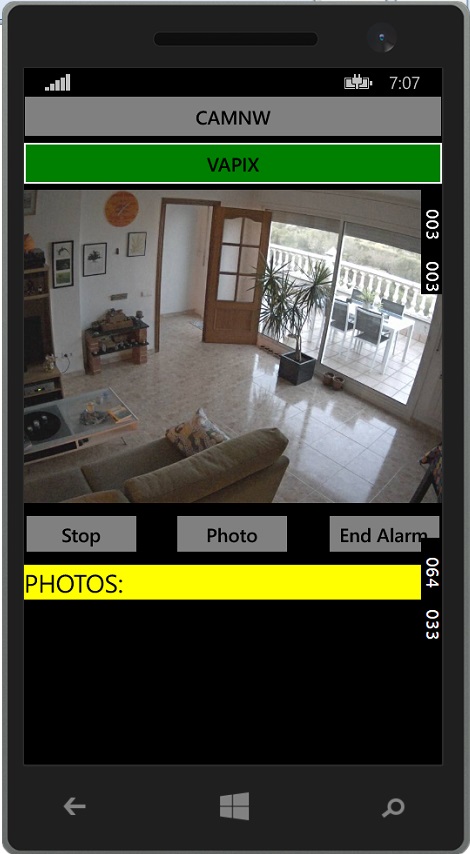
When you press any of these buttons for the first time, an Image object is added to show the camera image, a Start / Stop button to start or stop the camera, another button to take a picture and another to stop the emergency mode and return to surveillance mode.

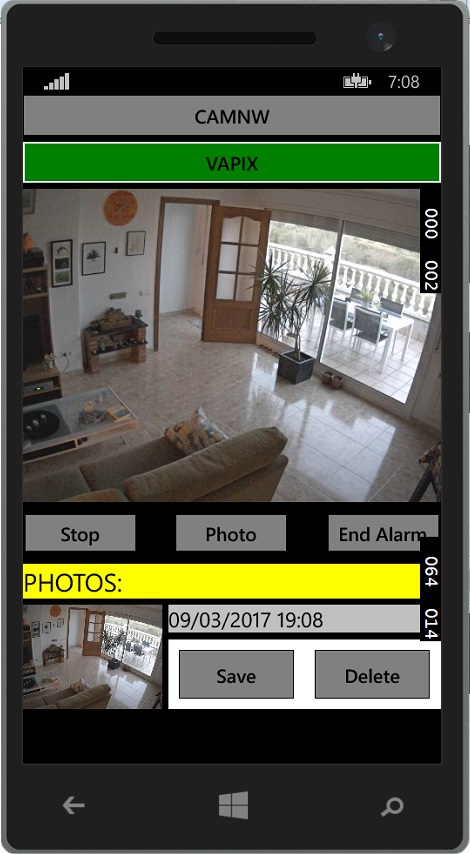
Below the buttons is the photo list.

Each of the pictures can be saved in the phone or deleted separately, with the buttons on the right side. As the access to the device to save the files is not platform independent, it is necessary to implement the corresponding version in each one of the projects of the different platforms.
First, you have to create an interface to perform the operation. In this case it is IImageManager, defined this way:
public interface IImageManager
{
    Task SaveImage(string filename, byte[] data);
}
You then have to create a dependency on each of the projects that will save the data using native code calls. This is, for example, the Windows Phone implementation, in the TWClientApp.WinPhone project, in the ImageManager_WinPhone class:
[assembly: Xamarin.Forms.Dependency(
    typeof(TWClientApp.WinPhone.ImageManager_WinPhone))]
namespace TWClientApp.WinPhone
{
    public class ImageManager_WinPhone : IImageManager
    {
        public async Task SaveImage(string filename, byte[] data)
        {
            StorageFolder picturesLibrary = KnownFolders.PicturesLibrary;
            StorageFolder savedPicturesFolder =
                await picturesLibrary.CreateFolderAsync(
                    "TWClient",
                    CreationCollisionOption.OpenIfExists);
            StorageFile imageFile =
                await savedPicturesFolder.CreateFileAsync(
                    filename,
                    CreationCollisionOption.ReplaceExisting);
            await FileIO.WriteBytesAsync(imageFile, data);
        }
    }
}
And this is the Android version, in the TWClientApp.Droid project, in the ImageManager_Droid class:
[assembly: Xamarin.Forms.Dependency(
    typeof(TWClientApp.Droid.ImageManager_Droid))]
namespace TWClientApp.Droid
{
    public class ImageManager_Droid : IImageManager
    {
        public async Task SaveImage(string filename, byte[] data)
        {
            var dir = Android.OS.Environment.GetExternalStoragePublicDirectory(
                Android.OS.Environment.DirectoryDcim);
            var pictures = dir.AbsolutePath;
            string filePath = System.IO.Path.Combine(pictures, filename);
            try
            {
                System.IO.File.WriteAllBytes(filePath, data);
                var mediaScanIntent = new Intent(
                    Intent.ActionMediaScannerScanFile);
                mediaScanIntent.SetData(
                    Android.Net.Uri.FromFile(new File(filePath)));
                Xamarin.Forms.Forms.Context.SendBroadcast(mediaScanIntent);
            }
            catch (System.Exception e)
            {
            }
        }
    }
}
And this is the way to call these functions, from the CameraPage class, in the button's event handler:
private async void Btn_PhotoSave(object sender, EventArgs e)
{
    if (sender is Button)
    {
        string photo = ((Button)sender).AutomationId;
        int ix = _photos.IndexOf(photo);
        if (ix >= 0)
        {
            MemoryStream s = await GetPhoto(photo) as MemoryStream;
            byte[] data = s.ToArray();
            await DependencyService.Get<IImageManager>().
                SaveImage(photo, data);
            await DisplayAlert("Image Saved",
                "The image has been saved", "OK");
        }
    }
}
And that's all; I hope that this application can be useful for you and that you enjoy building the system.


