WinPODUtil Application for POD databases. Filtering and Querying data
In previous articles I have talked about the POD project, a database that centralizes access to other databases so that they can be consulted through a common interface. In this article we will see the tool that is used for data filtering and query on any of the databases integrated into POD. In this link you can download the setup program to install WinPODUtil (Don't worry, no additional "great tools" will be installed).
For the program to be of any use, you must download a copy of the POD configuration database. This database must be installed in SQL Server.
As the POD database does not contain anything else than the configuration data necessary for access to other databases, we will see how it works with the PISA database, which is currently the only one that I have integrated into the system. In the link above you will also find instructions to download and install it. This database contains the results of PISA studies since 2000.
The program is both in Spanish and English. Once installed it, you can select either language in the Options / Language menu. The first thing to do to access the data is to set up the database connection, You can find this option in the Options / Database Connection… menu:
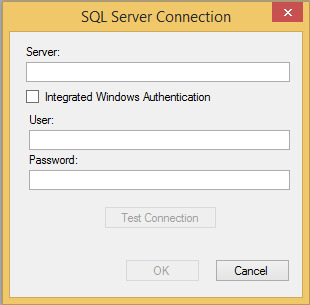
You must write the name of the SQL Server instance in the Server text box. To authenticate you can select Integrated Windows authentication or provide a Username and Password in the corresponding text boxes, depending on how you have configured the server access. You can test whether the connection data are valid by using the Test Connection button. Finally, with the OK button, the connection string will be saved in the configuration file.
You will see also, in the Options menu, the Connect using WCF and Connect directly with SQL Server options. The first is to connect to remote databases which can be accessed via WCF services (Windows Communication Foundation), so, for now, we will not use it. So, you should always have the second option selected.
After configuring the connection, simply use the File / New option to connect to the POD database and get a list of available databases:
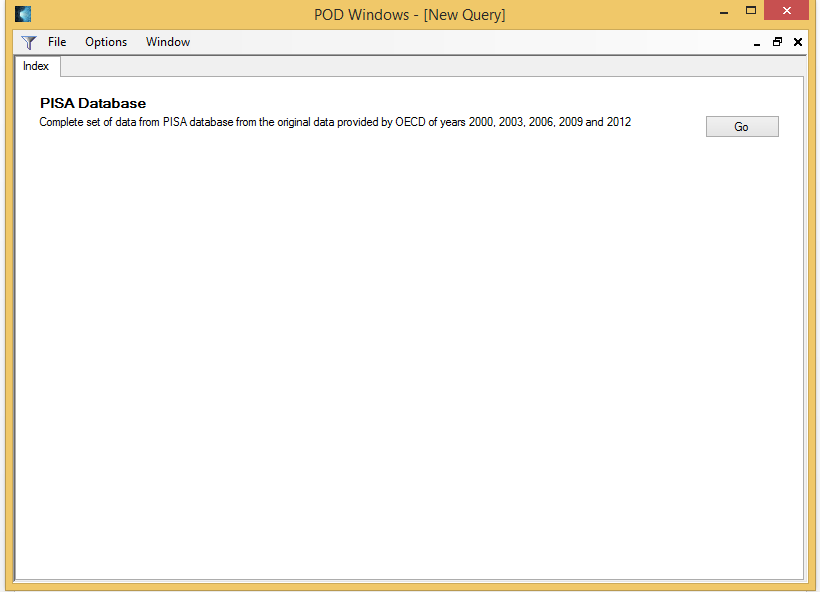
Currently, only the PISA database is available. Pressing the Go button, the program builds the interface to the database, consisting of a series of tabs with different controls for data selection. The first of these tabs contains the settings to configure this database:

In these tests, there are questions, such as age and sex, which are repeated every year, although each year there is a corresponding separate question (the goal is to manipulate as little as possible the original data), for this, the first option, Join identical questions in different years in the same column, allows that these questions are returned in a single column, instead of in a separate column for each of the selected years.
With the Automatic question selection option you can indicate that it is not necessary to select a question that is repeated every year, such as gender, for each of the years we have selected, but it is sufficient to select it in one of them, to automatically consider it selected for each of the others.
On the second tab you can see already options for filtering data for the query. At the top of the form, you have a drop-down list where you must select the different entities in order to select the values for which you want to obtain data. To the right side are all the available values that can be selected by clicking in the check box to the left of each. The selected values are passed to the list on the left, and you can unselect using the same procedure.
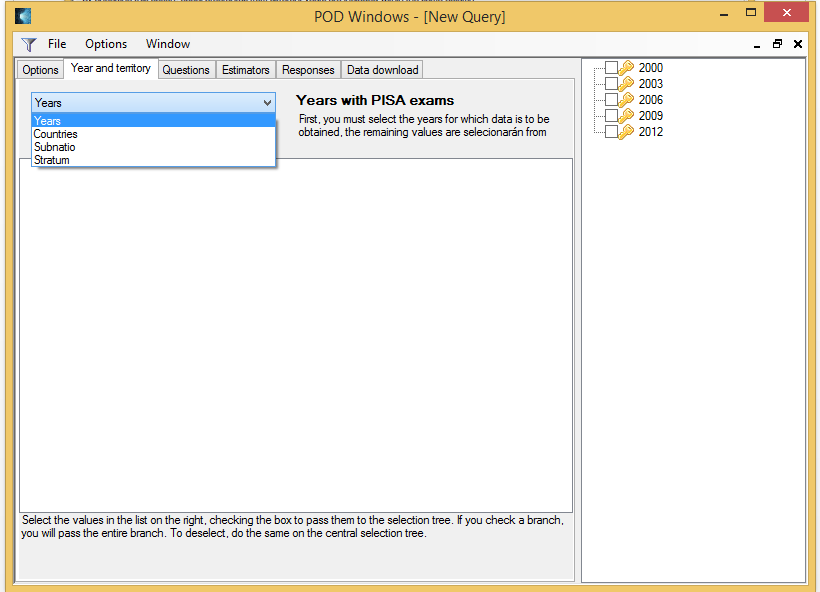
In this tab, you must select values for all existing filters, since all of them are used to select the data. In the Questions and Estimators tabs there are the filters of the data itself, and select elements in both tabs is not required, you can do it only in one of them.
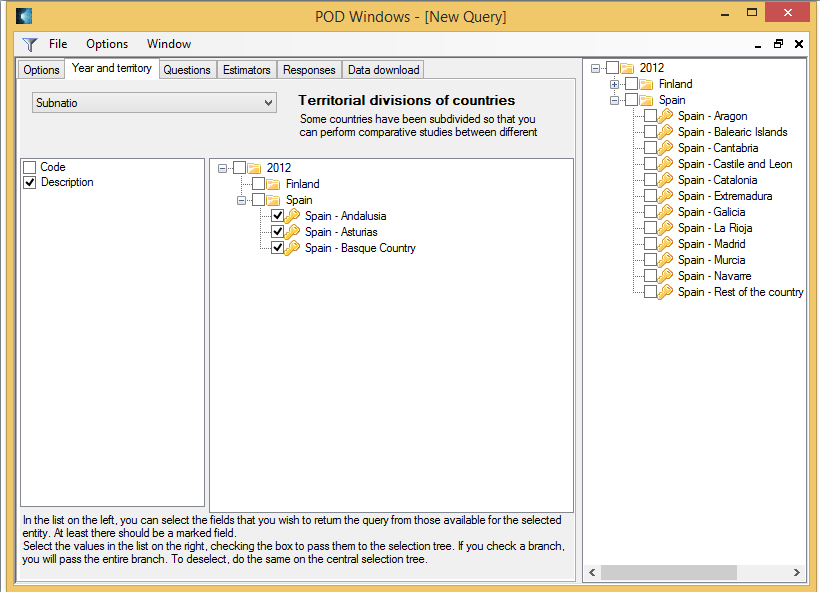
Some entities, such as countries, also have additional fields that you can get in addition to or instead of the default field. In these cases, you will see a list, on the left of the list of selected items, to select them:
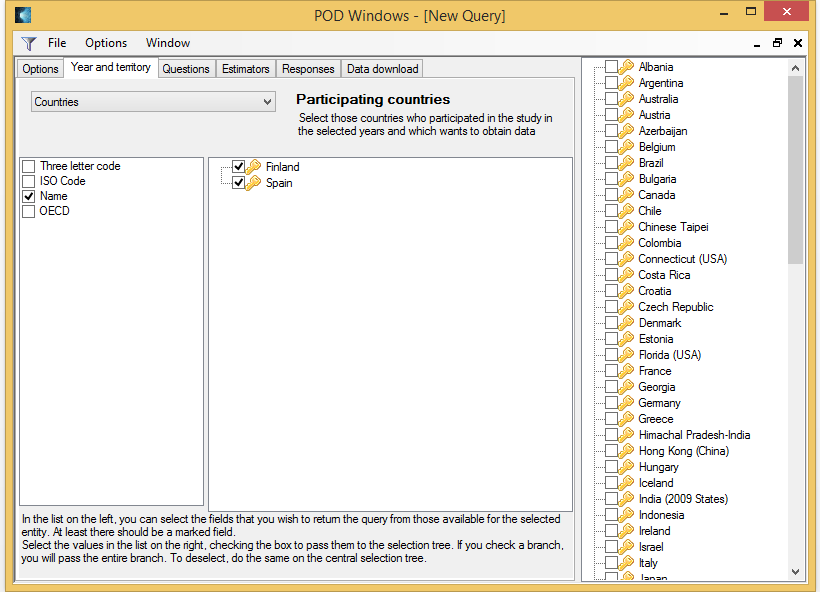
Some filters can be structured and contain child values, such as the country and its territorial divisions. These appear in the right selection list structured in folders. You can select all values by simply selecting the corresponding folder.
The answers to the questions have an additional level of data consisting of the different answers to the question, in case of Likert questions or other discrete type of response. You can individually select from which of these responses you want to get results:
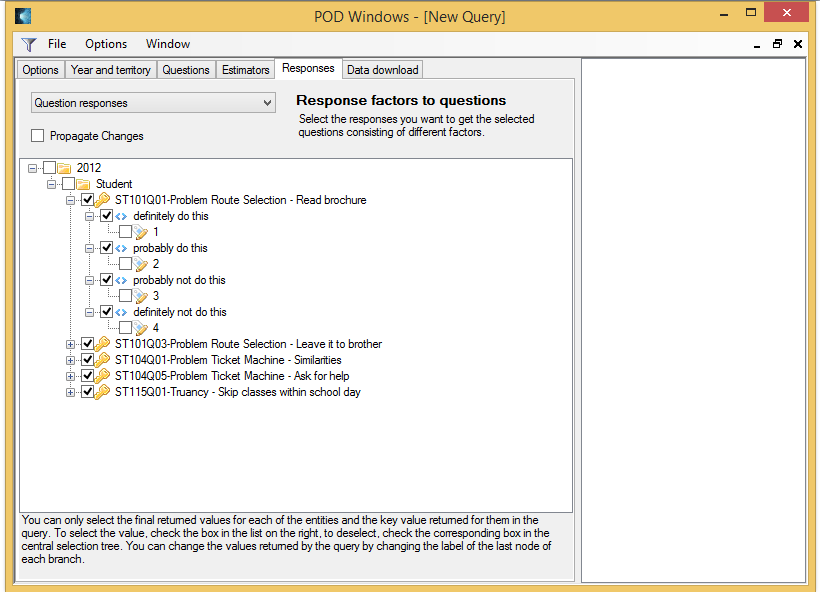
For each of the responses, the program shows what will be the return value. You can change this value by clicking with the mouse on the return value (by example, on the number 1 of the answer definitely do this, in the picture) and typing a new value. If you check the Propagate Changes option, this value is also changed in all the answers of the other questions whose value are the same as that we are changing, thus avoiding the cumbersome work of go changing one by one when they are many.
Finally, in the final tab you can see a summary of the selection you have made and you can launch the query with the Query button. This query is performed in the background, so you can continue working with the program or making multiple parallel queries:
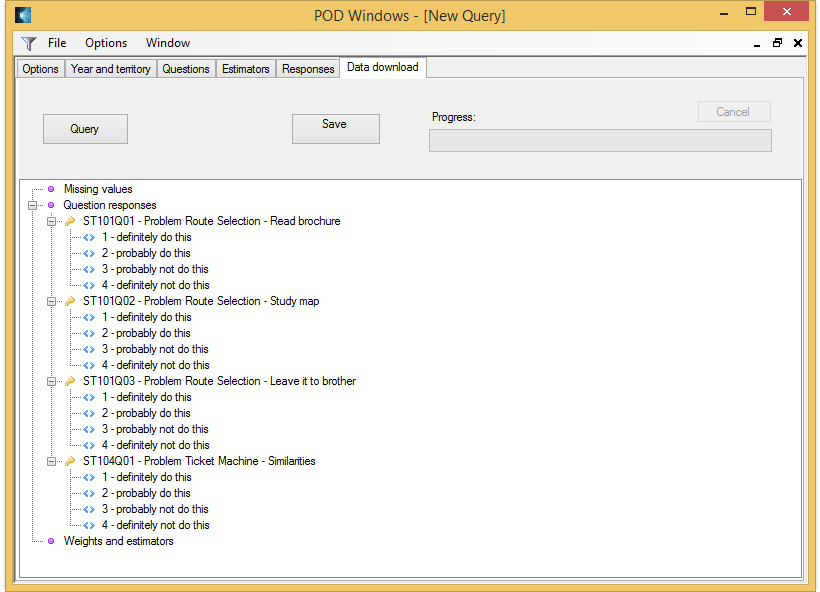
Keep in mind that, depending on the volume of the selected data, these queries may take a lot of time to complete, so you have to be patient. At the end of the download, you can save the result set in CSV format.
You can also save the selected filters in a file using the File / Save menu option, and reload them with the File / Open option.
In the next article, we will see how to process and merge csv files with the Process option of the WinPODUtil tool


